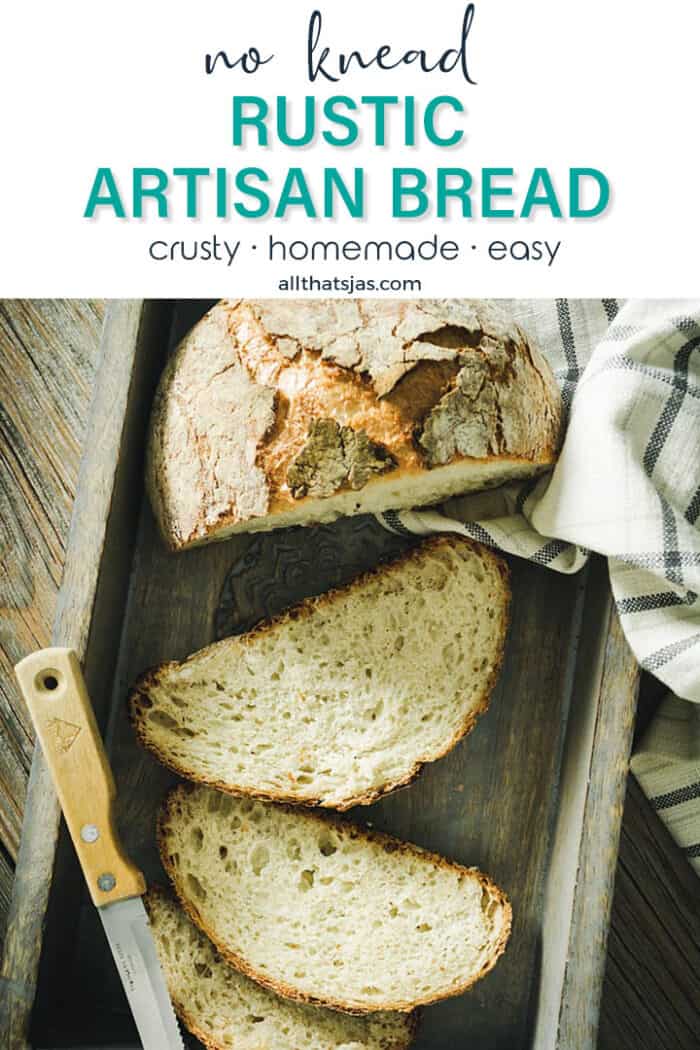
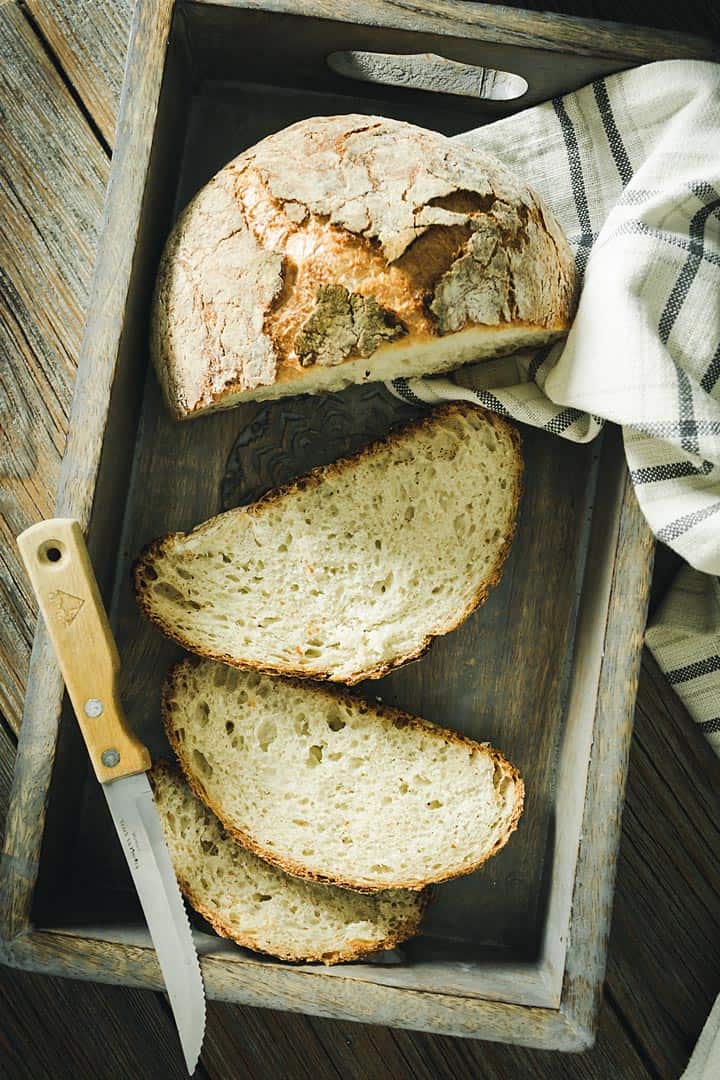
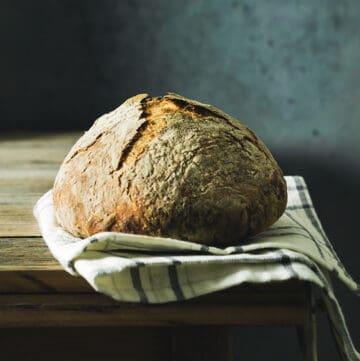
This easy no-knead Dutch oven artisan bread is absolutely delicious! The inside is light, soft, and generally perfect, while the outside is crispy, crusty, and chewy - it's everything you could want in a good loaf!
Is there anything better than the smell of freshly baked bread? Contrary to what the industry tells us - it's easy to bake good bread at home.

Update Notes: This recipe was originally published in March 2015 and updated in August of 2020 with new photos and recipe tips.
📃 Why it Works
This no-knead recipe means that you don't have to get your hands all messy and sticky - it's the most hands-off dough ever! You make the dough, let it sit, and then bake it - easy as pie! Much simpler and faster to make than sourdough bread.
I believe that baking bread is something that everybody should try at least once, especially this no-knead recipe. Homemade food tastes so much better than store-bought!
And such fresh loaf, we can hardly hold back. The smell coming out of the oven, the crackling sound when you take it out - as if it were whispering to you: Eat me!
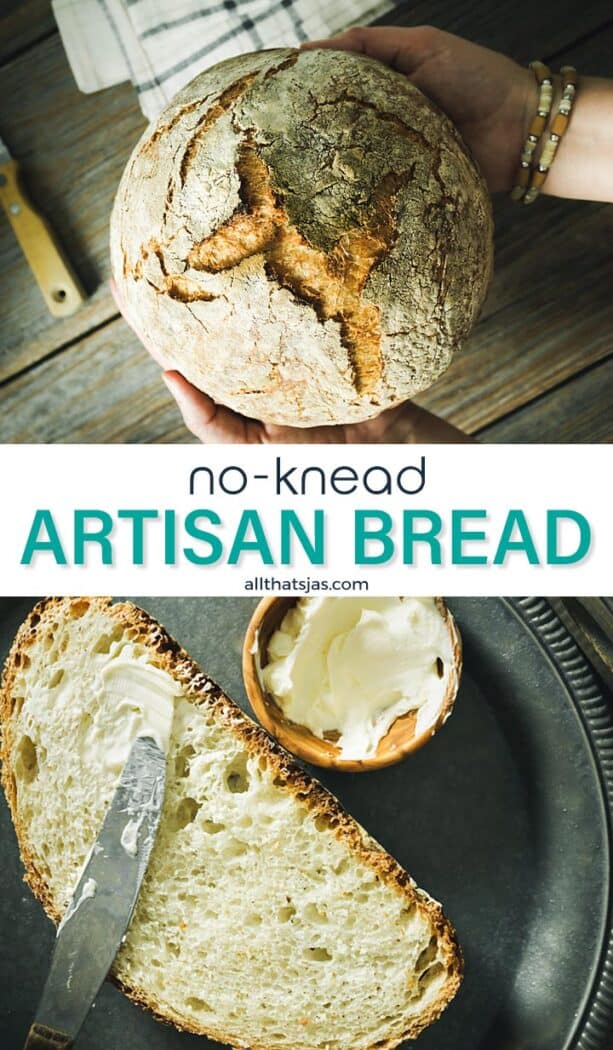
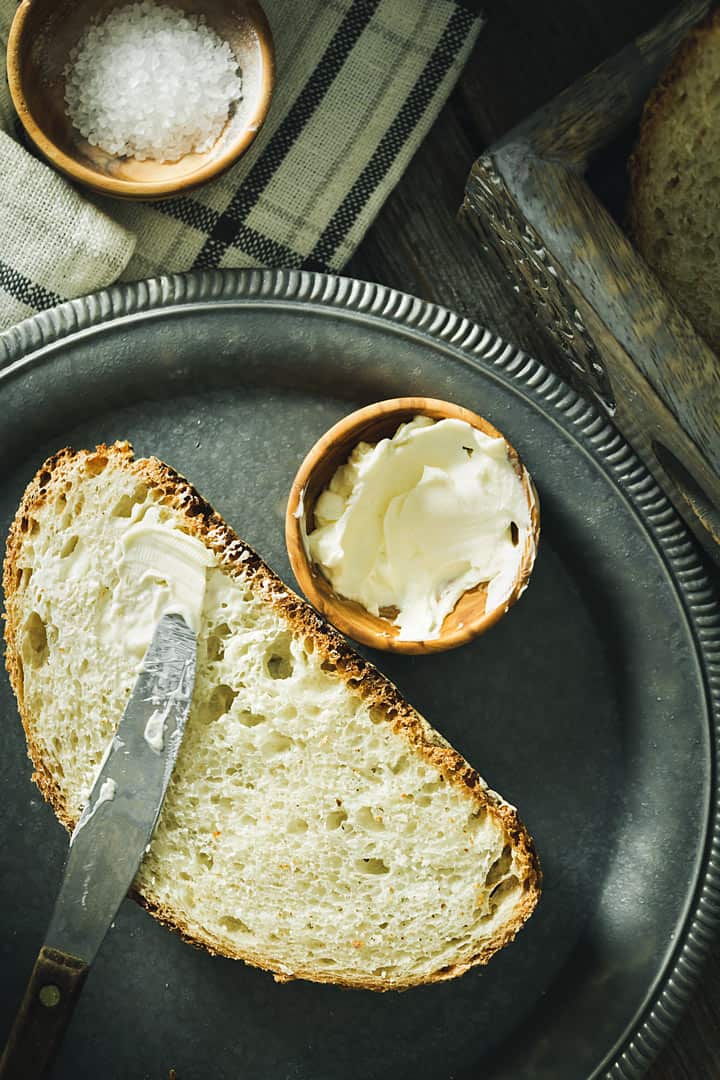
We are, of course, happy to comply with the request. Bread is best when still slightly lukewarm. A good piece of butter and mmmm.

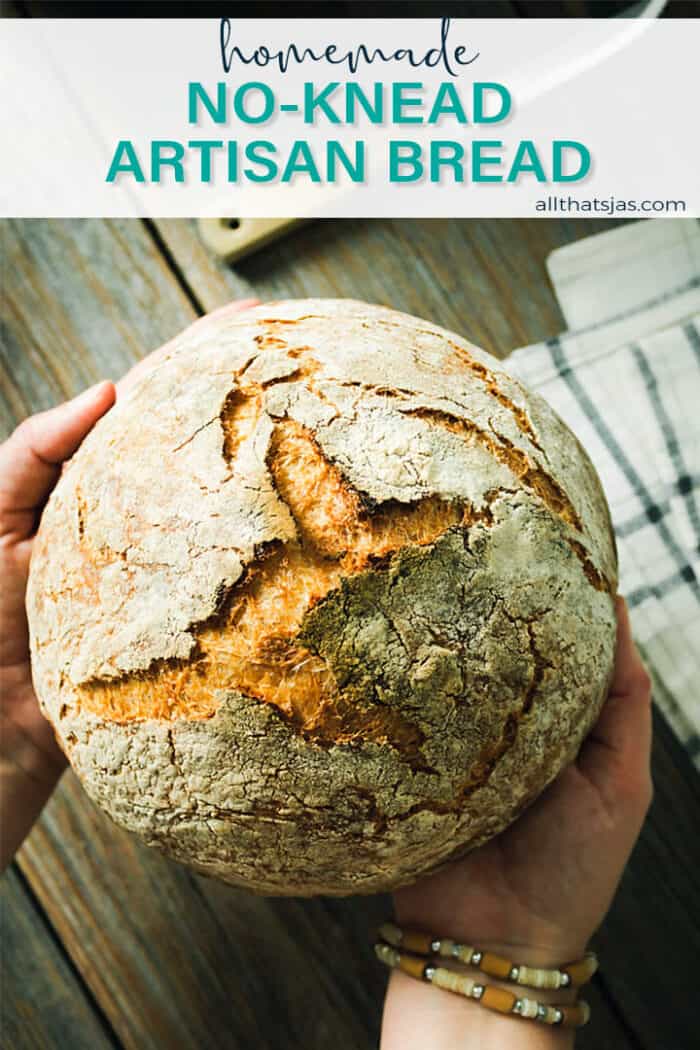
The smell of freshly baked bread is the epitome of comfort for me. The crusty outside and soft insides of this artisan loaf remind me of the happy times from back home.
There is that familiarity when biting into it - almost like my teeth remembered the times they sank into the warm freshness on my way home from the small local bakery. You can see why this is my favorite bread recipe.
🛒 Ingredients and Notes
You don't need anything much to make this recipe (only four ingredients!) - it's cheap, cheerful, and delightfully simple!
- All-purpose flour - You could also use bread flour. It will yield a slightly different texture.
- Instant yeast - This yeast doesn't have to be activated ahead of time like some other yeast types. If you have to, activate by mixing it with a pinch of sugar and a few tablespoons of water before adding other ingredients.
- Salt
- Sugar
- Room-temperature water - Meaning lukewarm.
You will also need a Dutch oven or heavy-bottomed pot with a lid.
WHAT IF I DON'T HAVE A DUTCH OVEN?
You can use a cast-iron skillet or heavy metal round cake pan. Because you can't cover it, the bread will come out a little darker.
🔪 Instructions
The method here is remarkably simple but slightly different from most regular bread recipes so that you can avoid kneading the bread.
*Keep scrolling to get the full (printable) recipe, ingredient amounts, and more tips, or click on the "Skip to Recipe" button at the top of the page.
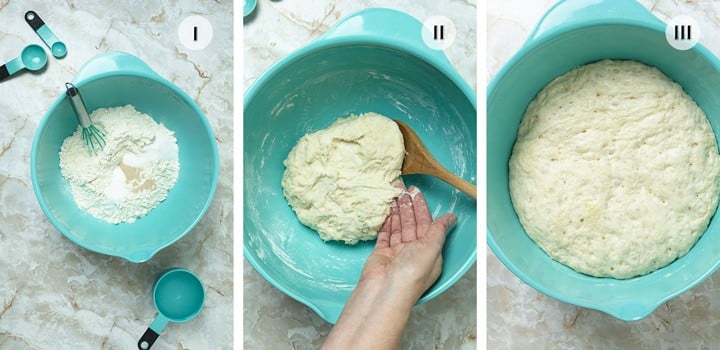
- In a large bowl, whisk together the flour, salt, sugar, and yeast.
- Add the water and mix with a wooden spoon until combined. The dough will be sticky.
- Cover the bowl with plastic wrap lightly sprayed with cooking spray. Let it sit at room temperature for 12-18 hours.
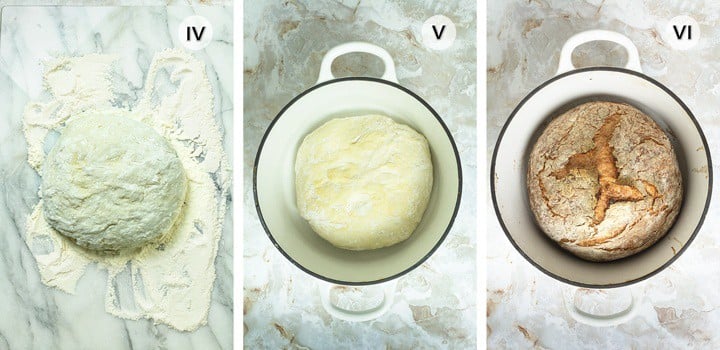
- Turn the dough out onto a heavily floured surface and shape it into a ball. Cover and let rest - meanwhile, heat your Dutch oven with the lid in 450 F preheated oven for 30 min.
- Place the dough into the ungreased Dutch oven, cover with the lid and bake for 30 minutes.
- Remove the lid and bake for 15 minutes longer.
- There are a few essential things to remember: for one, don't refrigerate the dough! It will be too cold for the yeast to work properly, which may lead to it not rising much if at all.
- Also, make sure you use a VERY large mixing bowl - size matters here! The dough will rise considerably, so if you don't take it into account, then you might just end up with dough all over your counter by the time it's finished!
- Lightly spray the plastic wrap with cooking oil spray, so that if your bread rises so high, it won't stick.
- Use heat-resistant (rubber) oven mitts to handle the piping hot pot.
- Remove the bread from the pot with the mitts, by using two spatulas, or by turning the pot upside-down. Alternatively, you could transfer the dough to the pot in a large piece of parchment paper and lift it to remove the bread when done baking.
Tips for storing bread:
Bread recipes or not, if stored incorrectly, it's a perishable food. You can follow these guidelines so that your bread always stays fresh and digestible:
- Loaves with high wheat content will keep for up to three days.
- You can freeze leftovers either whole or sliced.
- If not frozen, store all bread in a bread box.
- Discard crumbs from the box every few days.
- Every 1 to 2 weeks, wipe your container with vinegar.
- The more rye the bread contains, the longer it will stay fresh.
- Sourdough bread generally stays fresh longer.
🍽 How To Serve It
- Personally, I like mine spread with some good quality butter, but you can do plenty of other things with it!
- Make a crusty, posh grilled cheese or panini or toast and put your favorite sandwich fixings.
- Use leftovers (if by some miracle you have any) to make croutons, Panzanella (bread salad), or thicken soups.
- You can also make a delicious savory bread pudding or use it in a breakfast casserole.
- Make a bread bowl to hold soups or hot dips like nacho cheese sauce or cream of tomato soup!
- Cut it into sticks and dip it into your favorite dipping sauce.
- Serve it with soups, stews, or pasta to mop up the leftover sauce.
- And so much more! Anything store-bought bread can do, this bread can do better - trust me!
Liked this recipe? Leave a ⭐⭐⭐⭐⭐ rating and/or a review in the comments section. Your feedback is always appreciated! Stay in touch through Pinterest, Instagram, and Facebook! Don't forget to sign up for my email list below too!
How to Make No-Knead Artisan Bread
EQUIPMENT
- Large mixing bowl
- Dutch oven or a heavy-bottomed pan with a lid (3 Quart)
- Heat-resistant oven mitts
Ingredients
- 3 cups unbleached all-purpose Flour
- ½ teaspoon instant yeast
- 1 ½ teaspoon salt
- 1 tablespoon sugar
- 1 ½ cup water, room temperature
Instructions
- In a very large bowl, whisk together the flour, yeast, salt, and sugar. Add water and mix with a wooden spoon until combined. No need to overwork it, but try not to leave big lumps. The dough will be sticky.
- Cover bowl with plastic wrap lightly sprayed with cooking oil spray. Let it sit on the counter for 12-18 hours.
- Preheat oven to 450 degrees Fahrenheit. Place an ungreased Dutch oven with the lid in the oven and heat the pot for 30 minutes.
- As soon as you put the pot in the oven, put the dough on a heavily floured surface and shape it into a ball. The dough is now stickier, so it won't be a perfect ball but that is ok. Do not overwork it as it will deflate the air bubbles. Cover with the plastic wrap that was over the bowl. Let it rest for 30 minutes while your pot is pre-heating.
- Carefully remove the pot from the oven using heat-resistant oven mitts. Flour your hands, pick up the dough and drop it carefully into the pot (that is very hot!). Put the lid back on and bake for 30 minutes.
- Remove the lid and continue to bake for another 15 minutes. Carefully remove the bread from the pot and place it on a cooling rack until completely cooled. Let stand for 15 minutes before slicing.
Notes
- It's best to make the dough in the evening and let it rise on your counter overnight, then bake the next day.
- Let the dough rise in a very large bowl. The size matters in this instance - the dough will rise considerably, so if you don't take it into account, then you might just end up with dough all over your counter by the time it's finished!
- Don't refrigerate the dough! It will be too cold for the yeast to work properly, which may lead to it not rising much if at all.
- Make sure the Dutch oven lid has a metal cap, otherwise if it's plastic it will melt or even worse, blow-up in that hot oven.
- Use heat-resistant (rubber) oven mitts to handle the piping hot pot.
- See tips for serving and storing the bread in the post above.


Leave a Reply