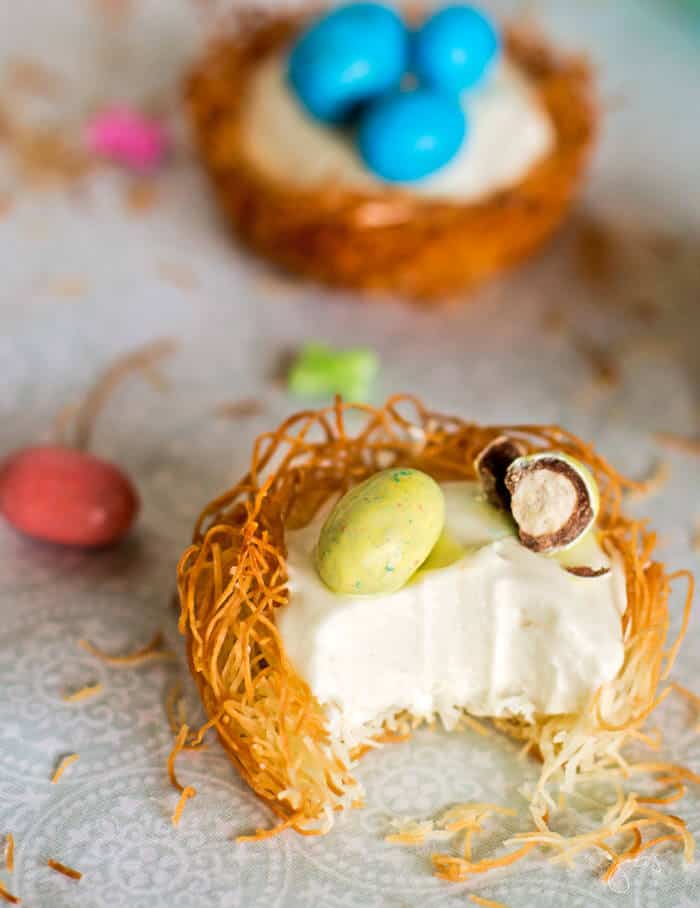
No-bake cheesecake in kataifi nests with robin's "eggs" is a fun and delightful Easter treat.

When Fillo Factory folks suggested I try making something with kataifi (shredded fillo dough), I gladly agreed as I love challenges.
But honestly, since I've never worked with kataifi before, I was not only intimidated, I dreaded and procrastinated working on this recipe for as long as I could. OK, it's not all due to kataifi. I also thrive on looming deadlines.
And so, I've finally set out to make Easter nests. Armed with kataifi provided by The Fillo Factory (all opinions are my own), I laid out my ingredients.
I "danced" around it for a while, finding other small chores I had wanted to do in case this project fails and it takes me a whole day to make. I wanted nothing else hanging over my head.
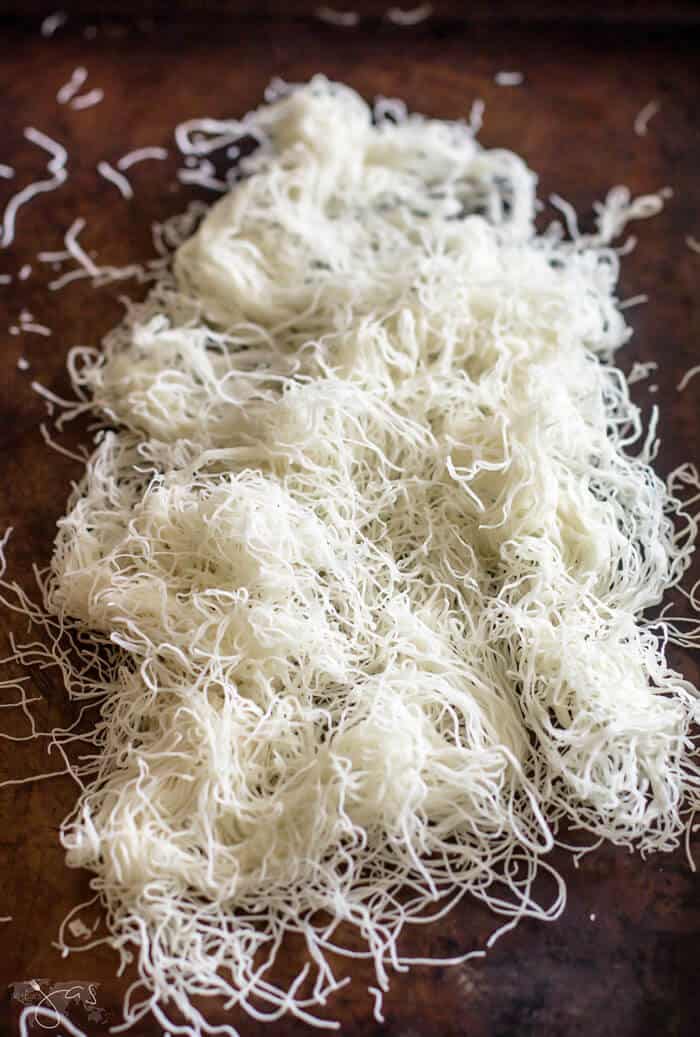
But, guys! I'm still astonished at how easy it is working with kataifi! BAM - the Easter nests were done.
They can be filled with a savory filling and topped with cherry tomatoes for eggs, but you know me. Cheesecake is on my mind 24/7. My most popular one, tiramisu cheesecake, is quite labor-intensive.
So, I simplified the recipe with a no-bake version but apparently, I'm not the only one that likes challenges. The original one still takes the lead. OK, then.
However, I do prefer a no-bake version. If you like cheesecakes too, follow along. Another interesting recipe is coming up next week. Since kataifi nests were done so quickly, I had more fun with the leftover dough threads and made this bunny head. Isn't it cute?
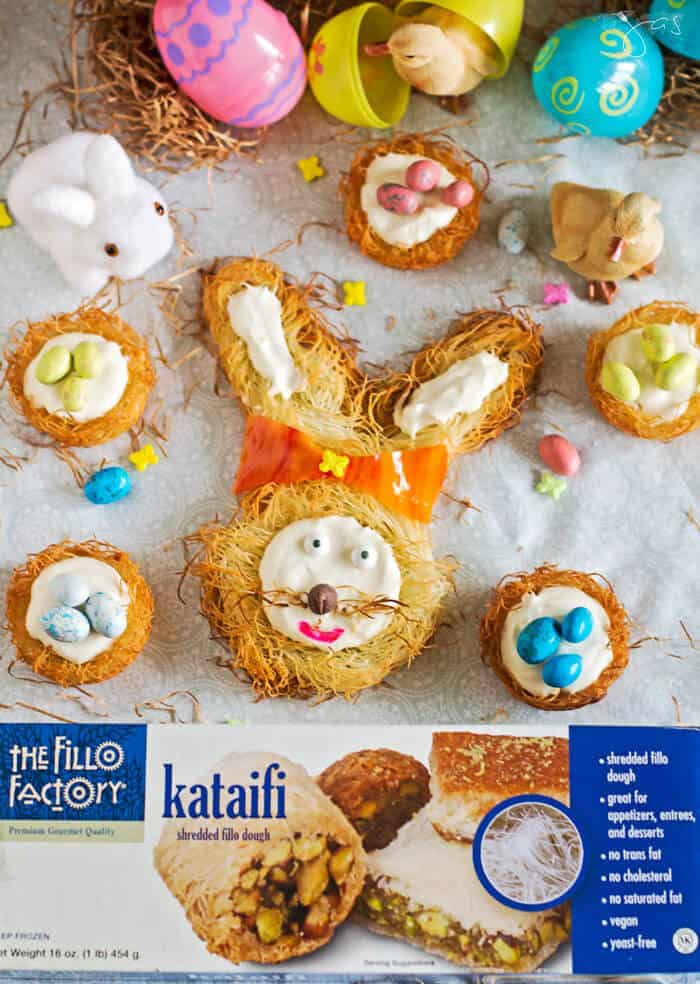
My daughter thinks its mouth looks creepy. After I politely informed her that the bunny is smiling and thus can't be creepy, she sent me this GIF. OK, she wins. Maybe my bunny's smile is a little creepy. LOL. Poor bunny!

How to make it:
- Preheat oven to 375 degrees Fahrenheit.
- Lightly grease two standard 12-cup muffin pans with nonstick cooking spray.
- Prepare the nests by untangling kataifiin a large bowl (it doesn't have to be perfect, just no clumps). Drizzle the melted butter over the kataifi and toss to coat completely.
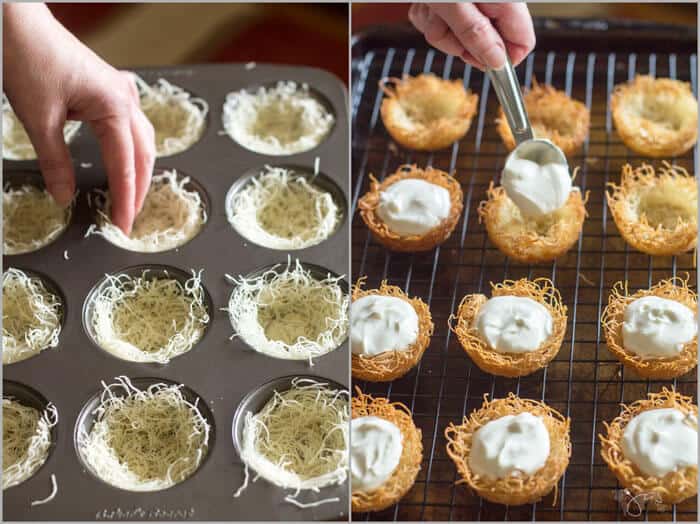
- Pinch handfuls of the kataifi and distribute evenly over two muffin tins. Gently press them down into muffin wells to form a nest.
- Bake the nests for 8-10 minutes (keep your eye on them so they don't get too dark). Cool in muffin tin on a wire rack.
- Meanwhile, with an electric mixer, beat the cream cheese in a large bowl until smooth. Add sugar or honey, heavy cream, lemon juice, and vanilla. Mix well.
- In a small bowl, pour hot water over gelatin. Stir until gelatin is completely dissolved. Microwave for 10-15 seconds, if necessary. Do not boil.
- Gradually beat in gelatin mixture into the cream cheese mixture.
- Fill nests with the cheesecake filling (about 1 tablespoon per nest).
- Refrigerate until set, for about an hour, and then carefully remove nests to platter with an offset spatula or spoon.
- Garnish with robin's eggs candy before serving.


No-Bake Cheesecake in Kataifi Nests Recipe
Ingredients
- ½ package, 8oz. kataifi (shredded fillo dough), thawed
- 2 tablespoons unsalted butter, melted
- 1 package, 8oz. cream cheese, softened
- ¼ cup granulated sugar or 2 tablespoons honey
- ¾ cup heavy cream
- 1 tablespoon lemon juice
- 1 teaspoon vanilla extract
- 2 tablespoons hot water
- 1 teaspoon unflavored gelatin
- Robin's eggs candy, Jelly Belly's or M&M's
Instructions
- Preheat oven to 375 degrees Fahrenheit.
- Lightly grease two standard 12-cup muffin pans with nonstick cooking spray.
- Prepare the nests by untangling kataifi in a large bowl (it doesn't have to be perfect, just no clumps). Drizzle the melted butter over the kataifi and toss to coat completely.
- Pinch handfuls of the kataifi and distribute evenly over two muffin tins. Gently press them down into muffin wells to form a nest.
- Bake the nests for 8-10 minutes (keep your eye on them so they don't get too dark). Cool in muffin tin on a wire rack.
- Meanwhile, with an electric mixer, beat the cream cheese in a large bowl until smooth. Add sugar or honey, heavy cream, lemon juice, and vanilla. Mix well.
- In a small bowl, pour hot water over gelatin. Stir until gelatin is completely dissolved. Microwave for 10-15 seconds, if necessary. Do not boil.
- Gradually beat in gelatin mixture into the cream cheese mixture.
- Fill nests with the cheesecake filling (about 1 tablespoon per nest).
- 10. Refrigerate until set, for about an hour and then carefully remove nests to platter with an offset spatula or spoon.
- 11. Garnish with robin's eggs candy before serving.




Chas says
So cute and perfect for spring! Great job and thanks for sharing on To Grandma’s House We Go!
Jas says
Thanks, Chas! Glad you like them.
Zeba Durrani says
What a great way to use Kataifi...these looks absolutely amazing. Thanks for sharing on Fiesta Friday!
Jas says
Thanks so much for your kind comment!
handmade by amalia says
What a beautiful treat. And it looks delicious.
Amalia
xo
Jas says
Thank you, Amalia! 🙂
Honest Mum says
How wonderful are these. Being originally Greek, I know and love Kataifi. Thanks for linking up x
Jas says
Thank you, my dear! Means a lot to get a confirmation from a Greek. XO
Miz Helen says
These little nests are just adorable, a very special treat! Hope you are having a great weekend and thanks so much for sharing your great post with us at Full Plate Thursday!
Miz Helen
Jas says
Thank you, Miz Helen!
Jas says
Happy you like them, Miz Helen! Thanks for stopping in.
Michelle Leslie says
LOL Jas, that poor bunny. I thought he was cute and then saw the gif your daughter sent and it was, uummmm okay. Some things just can't be unseen 😀 On the other hand the kataifi cheesecake nests are adorable. What a beautiful way to serve up Easter yumminess
Jas says
LOL, he was delicious nevertheless. But I need to perfect my bunny making skills, ha!
Jamie says
These look amazing!! Pinning to try them for my family soon. 🙂
Jas says
Thank you, Jamie!
Lathiya says
Those nests looks so cute..awesome idea
Jas says
Thanks a lot!
Jann Olson says
So fun! I had not heard of Kataifi, but I love filo dough! Thanks for sharing with SYC.
hugs,
Jann
Jas says
You'd love it, Jann! 😀
Linda S says
These perfect little nests look beautiful AND delicious! Can't wait to try this with my girls.
Jas says
They are super fun to make and fun for kids to help too 🙂 Thank you, Linda!
Ann says
Just darling! Perfect for an Easter celebration!
Jas says
Thanks so much, Ann!
Shannon says
Hi from over at Oh Heartsie Girl! This is such a cute idea!!! I'm going to share it with my girls! I know my grandsons will love it! Have a great week!
Jas says
Much appreciated, Shannon! Kids do adore these. Thanks for stopping in! 😀
Valaney says
These look SO yummy! I'll definitely have to try them for Easter! I found you through the Lou Lou Girls Fabulous Party. It would mean a lot if you could check out my blog!
Jas says
Thanks, Valeney!
Jhuls @ The Not So Creative Cook says
These look so adorable, Jas!! I love that they are no-bake, too! Delicious!! 😀 Thanks for sharing!
Jas says
Thanks, Jhuls! Glad you like them 😀
Rhiana L Jones says
Ack! Why the scarey clown!
Jas says
LOL, because my daughter wanted to make a point. It's all explained in the post. 😉
Mother of 3 says
I have never heard of Kataifi but you can bet I'll be looking around the grocery store for them now. Those look amazing and I LOVE cheesecake. Pinned.
Jas says
Thanks, Joanne! Much appreciated.
Mother of 3 says
This post is one of my Welcome Spring Features today. You can come check it out at Our Unschooling Journey. Thanks again for sharing with us.
Jas says
Thank you so much! I'm honored 🙂